Installing your new Luxus car mats is one of the easiest upgrades you can make to your vehicle. Unlike universal mats that shift and slide, our custom-fit mats are designed to lock into place. Here's how to install them in under 10 minutes.
Step 1: Remove your old mats. Take out any existing floor mats and vacuum the floor area thoroughly. This ensures your Luxus mats sit flat against the carpet.
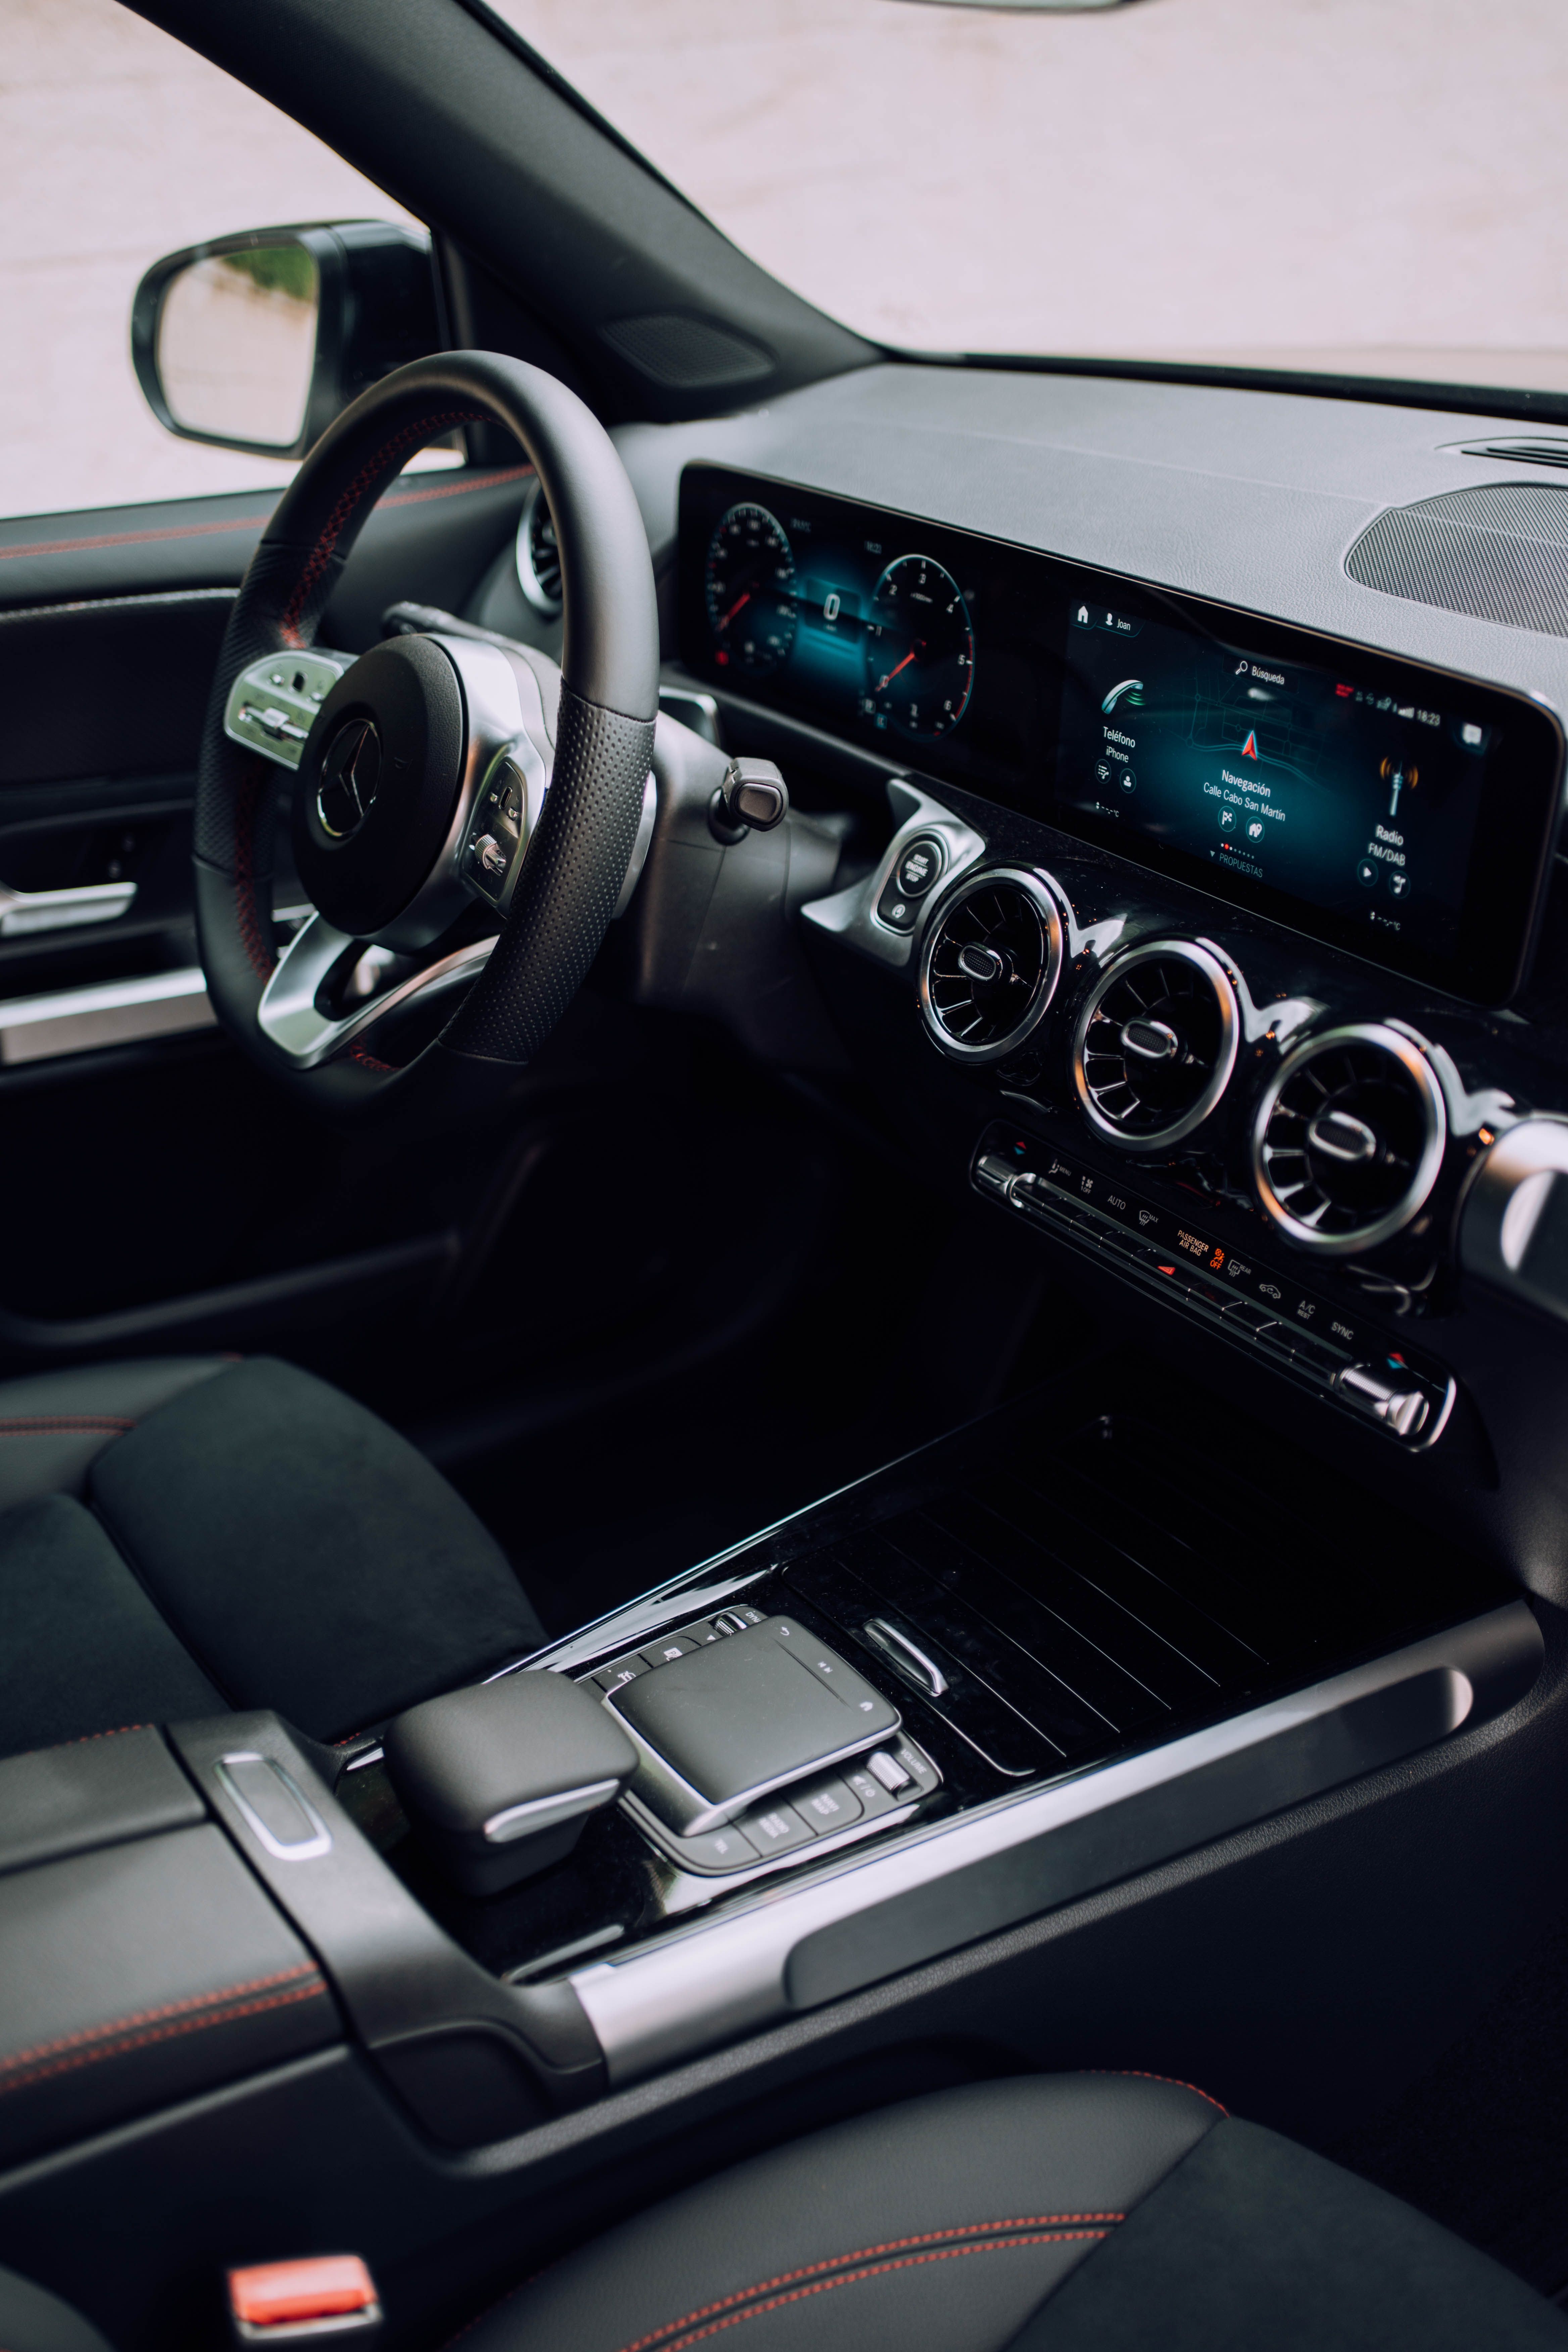
Step 2: Position the driver-side mat. Place the mat in the driver's footwell, aligning it with the floor contours. The mat should fit snugly against the sidewalls and center console.
Step 3: Secure the retention clips. Luxus mats come with built-in retention clips that tuck beneath the door sill trim and center console. Simply slide the clips into place — no tools required.
Step 4: Install the passenger and rear mats. Repeat the process for the front passenger side and rear footwells. The rear mats may have a one-piece or split design depending on your vehicle.
Step 5: Check pedal clearance. Before driving, ensure the mats do not interfere with the accelerator, brake, or clutch pedals. Luxus mats are designed with pedal-friendly cutouts, but a quick visual check is always a good idea.
That's it! Your Luxus mats are installed and ready to protect your vehicle's interior. If you have any questions, our team is available on WhatsApp.